Page 1 of 1
EQM-35 Setup for Camera only
Posted: Mon Mar 27, 2023 9:29 pm
by modelsbynight
Hi
I hope this posts ok
I read the manual and they remove the Declination Body off completely and replace it with a Dovetail ring which it comes with
DOVETAIL and Saddle head
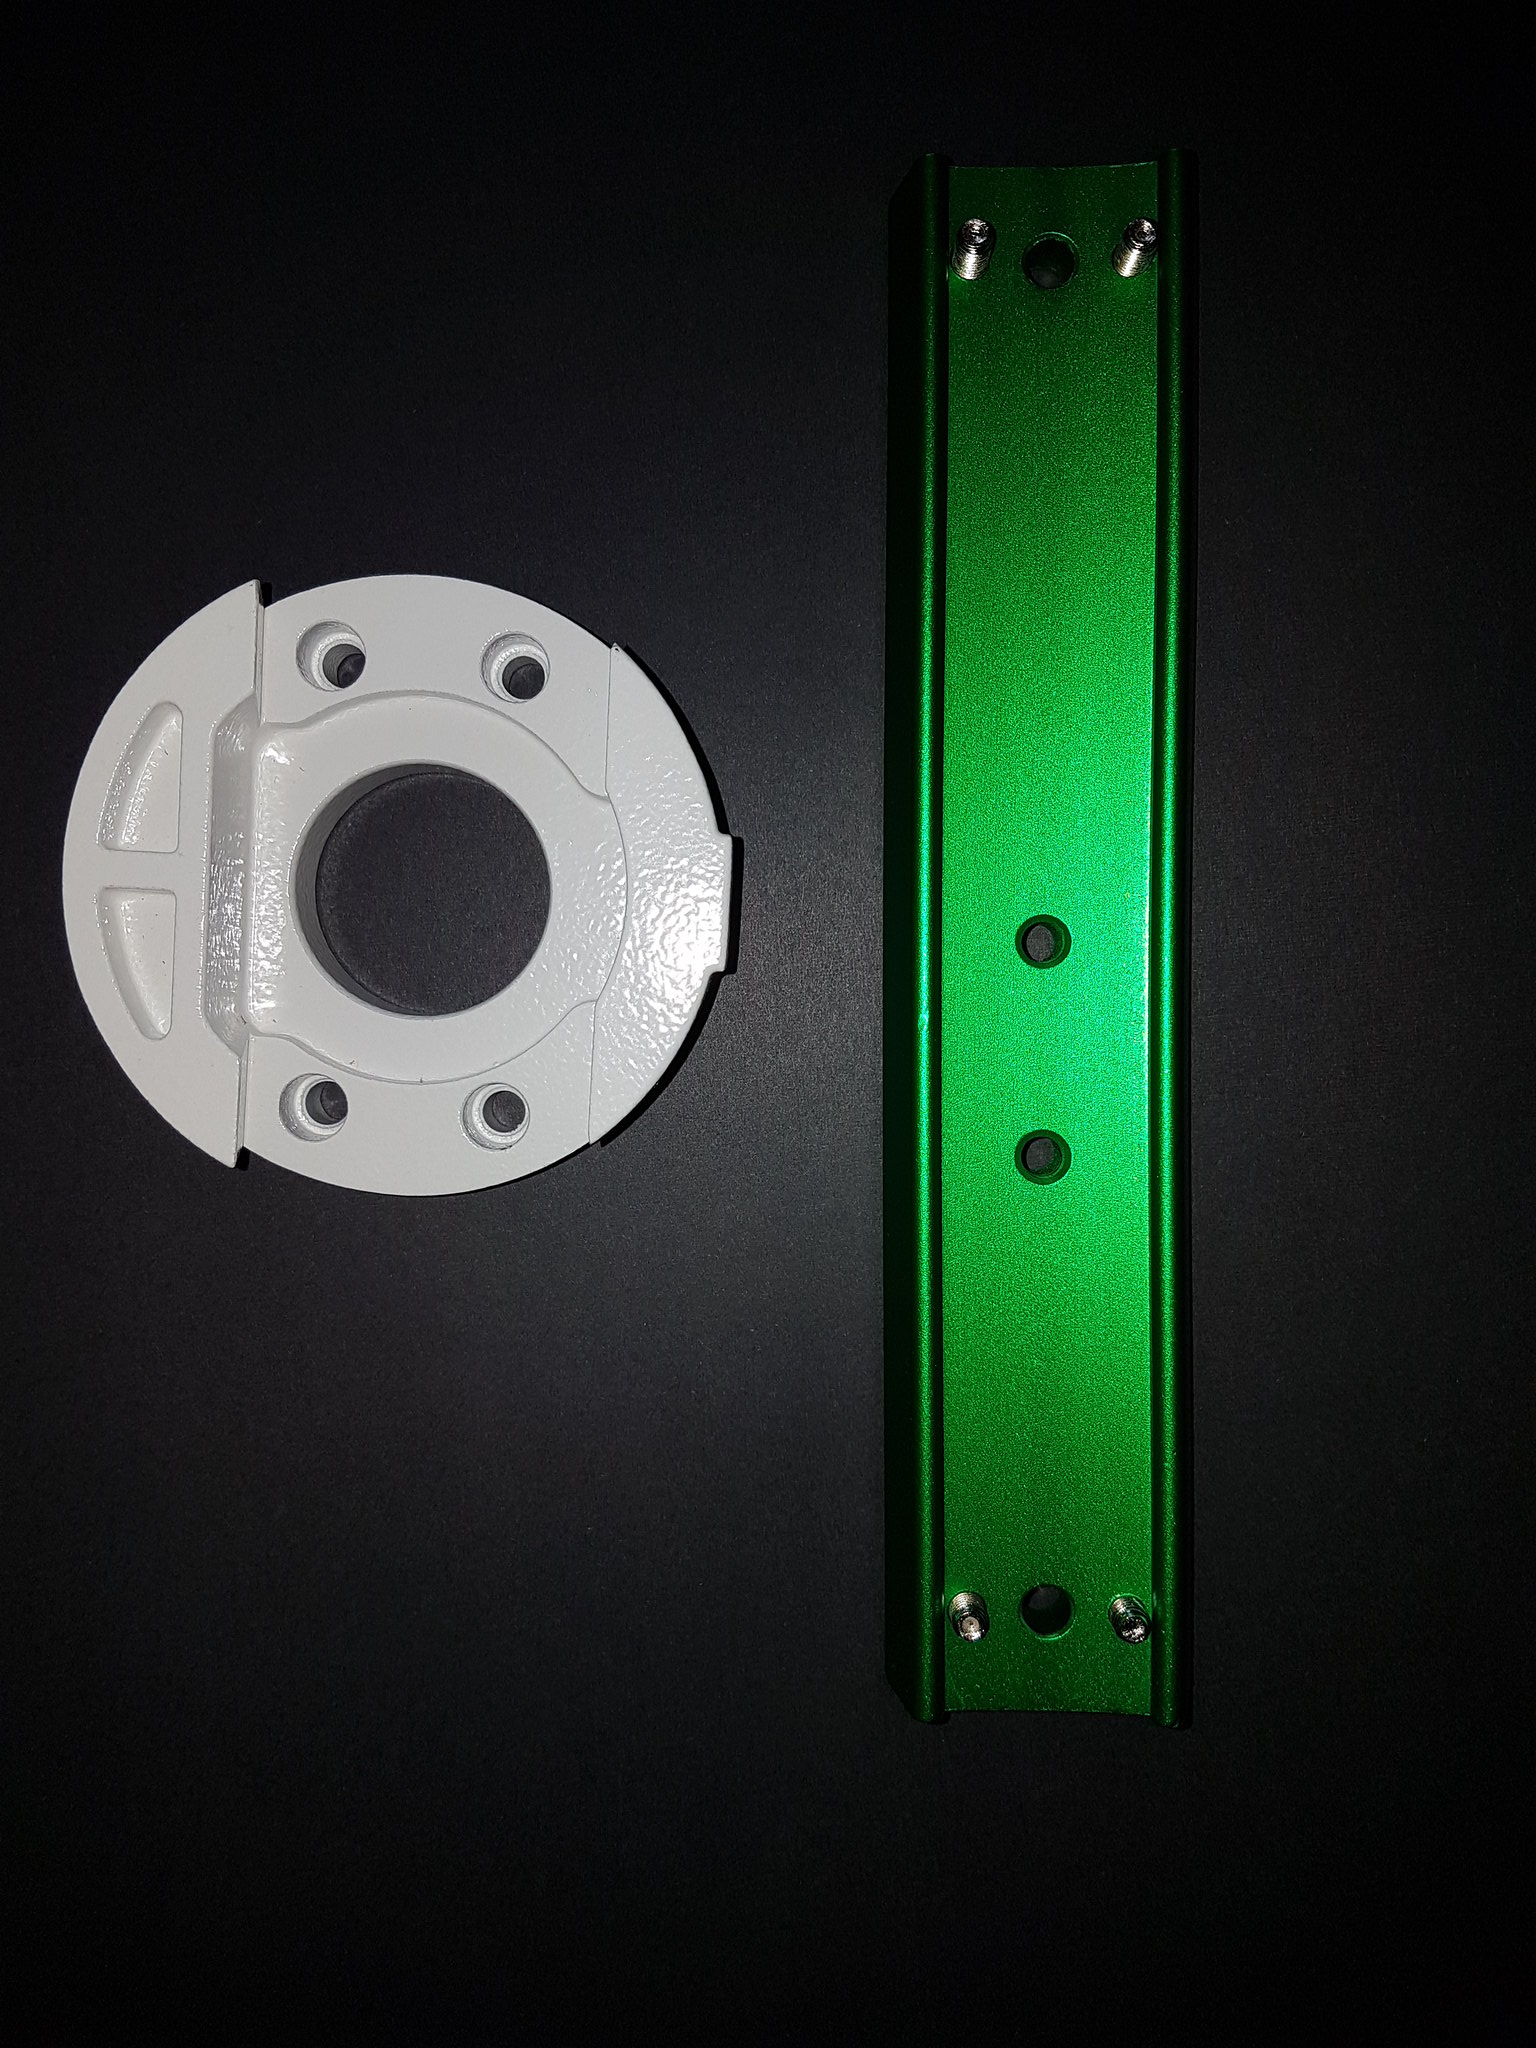
The round part (I think it is called a Saddle head) replaces the following
 Dec
Dec mount
Top part with 4 set screws to be removed

OR
just buy one of these for $20
https://www.bhphotovideo.com/c/product/ ... _head.html as it mounts in the
DEC part
They state in manual to Make it Light or Super Light you remove items
Re: EQM-35 Setup for Camera only
Posted: Tue Mar 28, 2023 3:35 am
by Lady Fraktor
I would replace the removed 1/2 of the saddle and purchase a 100mm vixen dovetail to screw you camera onto.
That gives you a nice solid connection while the mount is tracking.
I will have to download the mount manual as I do not understand why Skywatcher would say to remove it.
I love confusion first thing in the morning!

Re: EQM-35 Setup for Camera only
Posted: Tue Mar 28, 2023 4:01 am
by Lady Fraktor
Well I just read through the manual... most bizarre!
Strange to make a modular mount that ultimately just does the same thing in each configuration.
The recommendation I suggested is what is shown in section 1.8 (figure 13)
Maybe I need more coffee...

Re: EQM-35 Setup for Camera only
Posted: Tue Mar 28, 2023 6:53 pm
by modelsbynight
Lady Fraktor wrote: ↑Tue Mar 28, 2023 4:01 am
Well I just read through the manual... most bizarre!
Strange to make a modular mount that ultimately just does the same thing in each configuration.
The recommendation I suggested is what is shown in section 1.8 (figure 13)
Maybe I need more coffee...
Thank you, sorry I did not include diagrams from the manual.
This configuration is called Super light, meaning least weight if travelling light no need for Declination drive part or counter weights.
Mind you with this setup you need a ballhead or similar mount for camera so it can be pointed a object being photographed.
I might use it for starters, But I think the full setup with
DEC assembly attached and camera mounted .
I still in the setup phase and figuring things out.
Still Need to get a 12 volt battery to power the system. Also weather is BAD so good to work on system now and be ready when it clears up at night.
Re: EQM-35 Setup for Camera only
Posted: Tue Mar 28, 2023 6:59 pm
by Lady Fraktor
It should be a sturdy base for your imaging.
Out of curiosity, do you know how much weight you actually save?
Re: EQM-35 Setup for Camera only
Posted: Tue Mar 28, 2023 8:14 pm
by JayTee
I'm just making sure that you are aware that your mount is capable of "auto-guiding". Meaning, you hook it up to your computer (many new drivers needed), and using software, like PHD2, your computer will do all the work!
Unfortunately (or not), you need both new hardware and software to do this.
Cheers,
Re: EQM-35 Setup for Camera only
Posted: Tue Mar 28, 2023 8:17 pm
by modelsbynight
Lady Fraktor wrote: ↑Tue Mar 28, 2023 6:59 pm
Out of curiosity, do you know how much weight you actually save?
I have not taken the
DEC motor/counter balance off yet as I am leaning toward use the whole system as I don't really want to tear it down as I don't need to reduce weight as it will travel in car to darker skies
If I had to estimate , it looks like about 1/2 to 1/3 the whole weight of the assembly
Naturally if you go with the super light setup it does not include any counter weights so there is the main weight (Includes two 7.5-pound counterweights)
The head is rated at 9.6lbs guess that does not include the counter weight bar but not sure?
Mount Head Weight (lbs) 9.65
Tripod Weight (lbs) 12.5
Fully Assembled Weight (w/ weights) 37.15
Re: EQM-35 Setup for Camera only
Posted: Tue Mar 28, 2023 8:20 pm
by JayTee
Good question.
A quick call to Skywatcher support should answer that question. I converse with the manufacturers of my gear quite often.
Cheers,
Re: EQM-35 Setup for Camera only
Posted: Tue Mar 28, 2023 8:33 pm
by modelsbynight
JayTee wrote: ↑Tue Mar 28, 2023 8:14 pm
I'm just making sure that you are aware that your mount is capable of "auto-guiding". Meaning, you hook it up to your computer (many new drivers needed), and using software, like PHD2, your computer will do all the work!
Unfortunately (or not), you need both new hardware and software to do this.
Cheers,
Thank you, this will be very good. I have already looked into getting a Polar scope illumination LED as this mount does not have that. I've read that some use a LED light to help see the grid pattern, I am not sure how well I can see using it as it has not even been outside yet. I wanted to purchase the mount (based on info I got here) asap so I can start learning it while I wait for warmer and cloudless nights.
Yes I have read some of that already. Currently I only have an old Netbook (one of those small 9" screen or so tiny laptops) with Windows XP and also Linux. Not that familiar with Linux and don't know if the drivers will work with old Windows. I have a New iPad Air that I plan to to use for the control of the mount via WiFi ie the SynScan system (I did not buy the Handheld controller as I wanted to star a little cheaper and get the WiFi only version. The netbook does have several USB 2.0 ports. My larger Laptop would need a new battery and it also runs old Windows and would be very slow.
I have not been able to use the software/hardware as I do not have a 12 volt power source in the house yet. I plan to get a 12 volt power system but not sure what to get yet. I guess it would be handy to have USB ports on it as well. and also option to boost car battery in case that fails and also to power red lights for night vision etc.
Re: EQM-35 Setup for Camera only
Posted: Tue Mar 28, 2023 8:49 pm
by JayTee
The vast majority of APers on these forums use a PC laptop for control, myself included. It's a legacy thing because most of the freeware is PC only.
That aside, your mount in its current configuration should give you many fine images as long as you stick to the mount's strengths. This means shorter focal lengths and shorter exposures and a lot of image stacking.
When you are ready to upgrade then this mount should be a good intro mount for even longer exposures DSO AP. Remember to stick to the mount's strengths -- Don't go past 50% of the mount's payload capacity, use the "sweet spot" for FLs, and use auto-guiding to get those long exposures.
Re: EQM-35 Setup for Camera only
Posted: Tue Mar 28, 2023 10:19 pm
by Lady Fraktor
If you do need a light to see the polar scope reticle just shine a red light across the front of the polar scope.
It will provide enough light.
Or for a couple of euro you can build on of these from plastic plumbing pieces and a keychain red laser.
Re: EQM-35 Setup for Camera only
Posted: Tue Mar 28, 2023 10:21 pm
by JayTee
Lady Fraktor wrote: ↑Tue Mar 28, 2023 10:19 pm
If you do need a light to see the polar scope reticle just shine a red light across the front of the polar scope.
It will provide enough light.
Or for a couple of euros, you can build one of these from plastic plumbing pieces and a keychain red laser.
Krikees, what a great idea. I'm building one for my EQ6-R. I had a dickens of a time trying to illuminate that polar scope.
Thanks, Gabrielle,
Re: EQM-35 Setup for Camera only
Posted: Tue Mar 28, 2023 10:26 pm
by Lady Fraktor
A fellow observer on a different forum gave me the idea years ago, very handy if you do use a polarscope.
Re: EQM-35 Setup for Camera only
Posted: Tue Mar 28, 2023 10:33 pm
by JayTee
I even have a key chain laser just sitting around being unemployed!
Re: EQM-35 Setup for Camera only
Posted: Tue Mar 28, 2023 10:43 pm
by modelsbynight
I have read about DIY illumination thanks for the photos, Need to go to plumbing store and get a fitting that works on my mount
Thanks